Polished concrete is the interior trend of the moment and more and more homeowners are seeing concrete not as the dowdy, boring, grey material we see covering many commercial and industrial eyesores but a chic and contemporary addition to the home. Polished concrete is certainly a material made for the kitchen with its excellent durability and easy-to-clean surface, and it’s not just our kitchen floors that are getting the concrete treatment…
Many homeowners are using concrete to create a modern look on their kitchen countertops, and you can transform your existing countertops for as little as $25! Here’s how…
Finding your concrete mix
There are a number of concrete products on the market making it even harder to sort the wheat from the chaff. For easy application and durability we recommend using pre-packaged mixes of concrete composite products or alternatively a concrete and PVC mixture, which is a product that will easily bind to flat surfaces like your original worktop.
Mix the concrete in accordance to the manufacturer’s instructions found on the packaging but before applying to the countertop, you should use a coarse sandpaper to rough up the surface of the countertop, this ensures extra cohesion between the worktop and concrete mix. Whilst adding texture to your countertop, many concrete products require 10 – 15 minutes of pre-setting before application.
Applying the concrete
Once the concrete has stood for the recommended period it is now time to apply the thickened mixture to your countertop. Use a trowel or drywall knife for extra precision and steadily spread the concrete mix onto the roughened surface. Aim to provide the same amount of coverage to every part of your countertop keeping trowel marks to the minimum but remember it doesn’t have to be perfect, imperfections in the dried concrete will be buffed, polished and prepped before being sealed at a later stage. As you apply the concrete keep the edge as neat as possible and score the seam lines between the counter top and the wall for a clean-cut finish.
When applying concrete, the key is to apply a thin layer at a time, this may be time consuming but it will lead to a more high quality finish. Once each layer has dried, sand the surface before applying the next, this will ensure extra durability.
Polish to the perfection
For many people, concrete countertops look that bit better with the added character created naturally and by trowel marks and air bubbles. However, once the final layers have been applied and are dried, it is up to you how much of the raw concrete finish is retained. Use coarse sandpaper on a sanding block or an electric sander to polish the concrete until you get your desired finish.
Seal for added durability
After you have polished your concrete surface to the desired look and texture, the final step is to make the surface watertight with a few coats of sealant. To keep that raw concrete look on show use a natural look, clear sealant, available from most DIY stores. We recommend a water-based sealant, which tends to be more lightweight than oil based sealants. Heavier sealants tend to make polished concrete surfaces more of a ‘wet look’ and darker in appearance. Apply a thin layer of sealant two to three times (or as per the manufacturer’s instructions), ensuring that each is fully dried before the next coat.
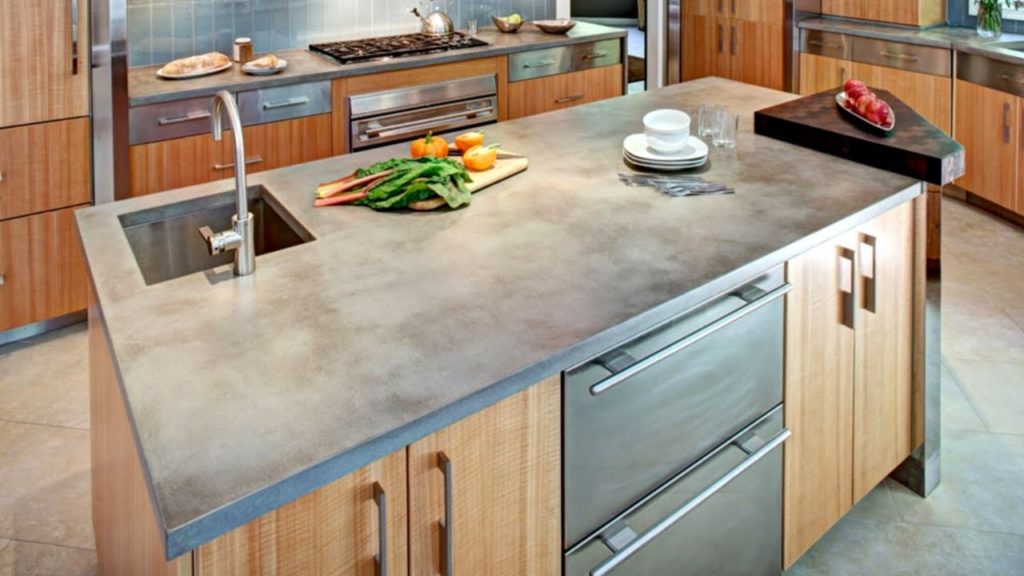
Concrete countertops provide a beautiful, industrial finish to any kitchen space and are an affordable way to spruce up tired worktops – with stylish results favored by interior design magazines and blogs alike. Get the hottest look in interiors for very little cost with your guide to DIY concrete countertops.